
How To Install Custom Signs Properly
March 27, 2026
Installing custom signs might seem like a simple task, but it involves careful planning, precise measurements, and the right tools. A sign isn’t just decoration, it’s a silent salesperson, representing your brand, guiding customers, and creating an impression. Improper installation can make your sign look unprofessional, cause damage, or even pose safety risks.
This guide breaks down the process, giving you step-by-step instructions to ensure your custom signs shine, last longer, and make a strong impact.
Understanding the Importance of Proper Sign Installation
Proper installation transforms a sign from ordinary to effective. A crooked, faded, or unstable sign can deter customers and harm your reputation. On the other hand, a well-mounted, professional-looking sign communicates reliability, attracts attention, and improves brand recognition.
Good installation also ensures safety; a poorly secured sign can fall, injuring someone or causing property damage. Investing time upfront in proper installation saves costly repairs and replacements later.
Choosing the Right Location for Your Sign
Selecting the perfect spot for your sign is critical. The location influences visibility, engagement, and overall effectiveness.
Traffic Flow Considerations
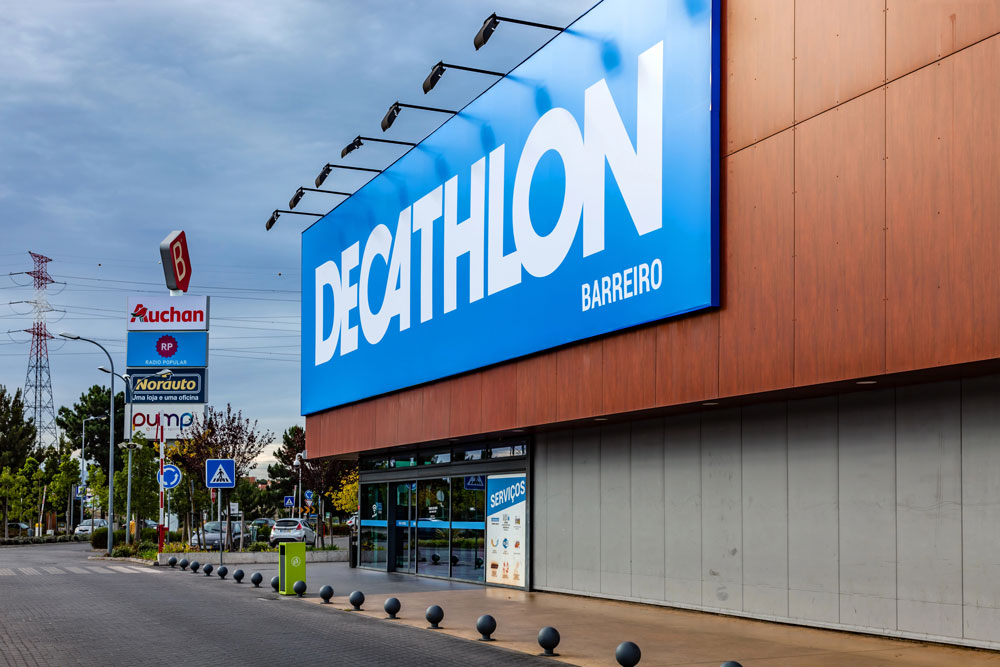
Think about the movement of people around your business. Drivers, cyclists, and pedestrians all have different sightlines. A sign hidden behind parked vehicles, trees, or other buildings won’t reach its potential audience. Position signs where they naturally catch attention and avoid placing them in areas with fast-moving traffic where reading time is limited.
Visibility and Sightlines
Height, angle, and line of sight matter as much as location. Pedestrian signs should sit at eye level, while signs targeting drivers need higher placement. Make sure nothing blocks the view, utility poles, streetlights, or even awnings can obstruct visibility. Adjust the angle to maximize exposure, especially for signs that face streets with curves or heavy traffic.
Compliance with Local Regulations
Houston has specific regulations regarding sign placement, size, and illumination. Municipal rules might limit sign height, brightness, or distance from the street. Checking city codes before installation prevents fines and ensures your sign is compliant. Some areas may require permits, especially for illuminated or large outdoor signage.
Types of Custom Signs and Their Requirements
Different signs need different installation techniques. Understanding your sign type avoids errors and ensures durability.
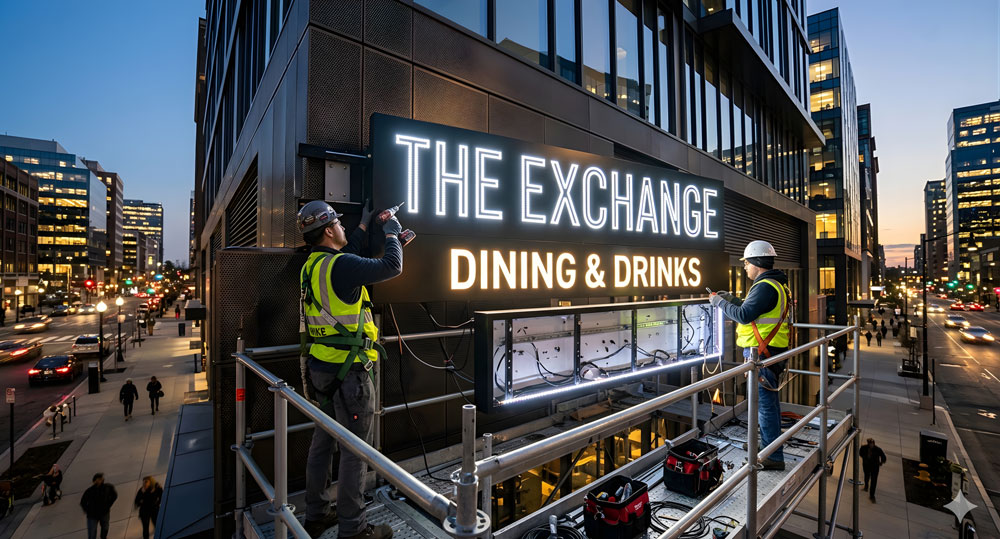
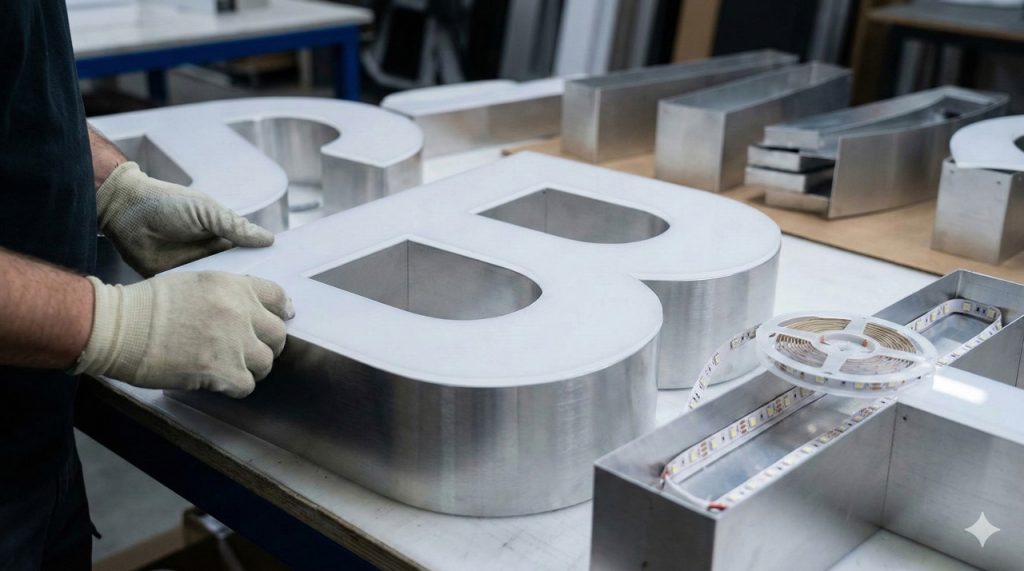
LED Signs
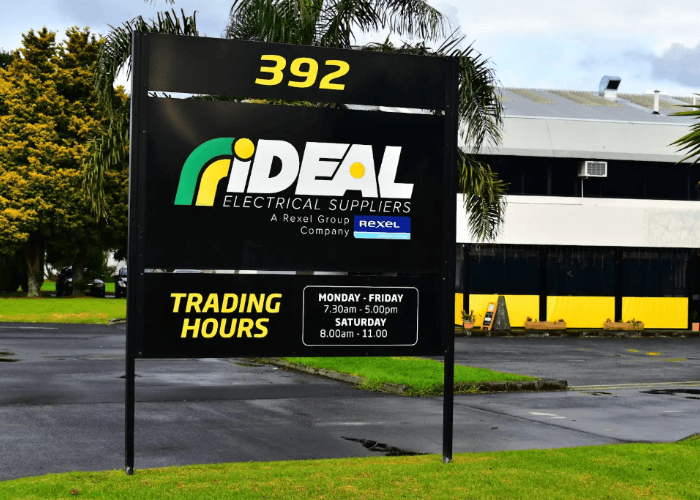
LED signs are bright, modern, and energy-efficient, but they require careful handling. Secure mounting is essential to prevent vibration or movement that could damage wiring. Outdoor LED signs must have weatherproof housing, proper electrical connections, and grounding. Pre-wiring or consulting an electrician ensures your LED sign performs reliably.
Vinyl Banners and Posters
Vinyl banners are lightweight but flexible. Outdoor placement exposes them to wind, rain, and sun, so they must be taut and secure. Using grommets with hooks or ropes allows tension without tearing. For larger banners, consider reinforced edges to avoid sagging.
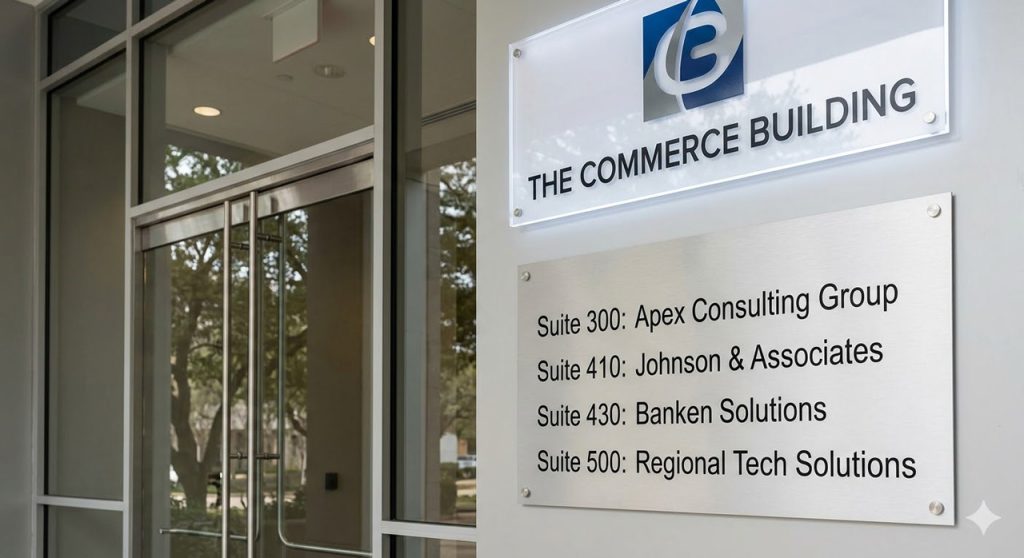
Metal and Acrylic Signs
Metal and acrylic signs are durable and elegant but heavier. Mounting them requires anchors, screws, and sometimes brackets. Pre-drill holes to avoid cracking and ensure that the sign sits flush against the wall. Leveling is critical; even minor misalignment can be visually obvious, especially with reflective surfaces.
Tools and Materials You’ll Need
Having the right tools simplifies installation and ensures safety. The tools vary based on the sign type and location.
Basic Hand Tools
Screwdrivers, hammers, levels, tape measures, pencils, and plumb lines are essential for any sign installation. Levels ensure horizontal placement, while pencils allow for precise marking without permanent damage.
Power Tools for Larger Signs
Drills, impact drivers, stud finders, and masonry bits make installing heavier signs easier and more secure. These tools help anchor signs into walls made of brick, concrete, or wood without causing cracks or instability.
Safety Equipment
Gloves, safety glasses, helmets, and anti-slip shoes protect you during installation. Working at heights requires ladders with stabilizers or harnesses. Safety gear prevents injuries and allows you to focus on precise installation.
Step-by-Step Guide to Installing Custom Signs
Follow this process for a smooth, professional installation.
Preparing the Installation Site
Preparation is critical. A clean, smooth surface ensures proper adhesion and stability. Remove old adhesives, dirt, or rust. Inspect the wall for cracks or weak areas and repair them before mounting the sign.
Cleaning and Measuring the Surface
Measure twice to avoid mistakes. Accurate measurements make sure your sign is centered, level, and correctly spaced. Use a level to mark straight horizontal and vertical guidelines.
Marking Drill Points
Mark anchor points with a pencil or chalk. Double-check alignment, especially for larger or heavier signs. Incorrect marking can result in uneven mounting, which is visually unappealing and less stable.
Mounting Different Sign Types
Sign installation depends on the material. Each type requires specific techniques for optimal stability.
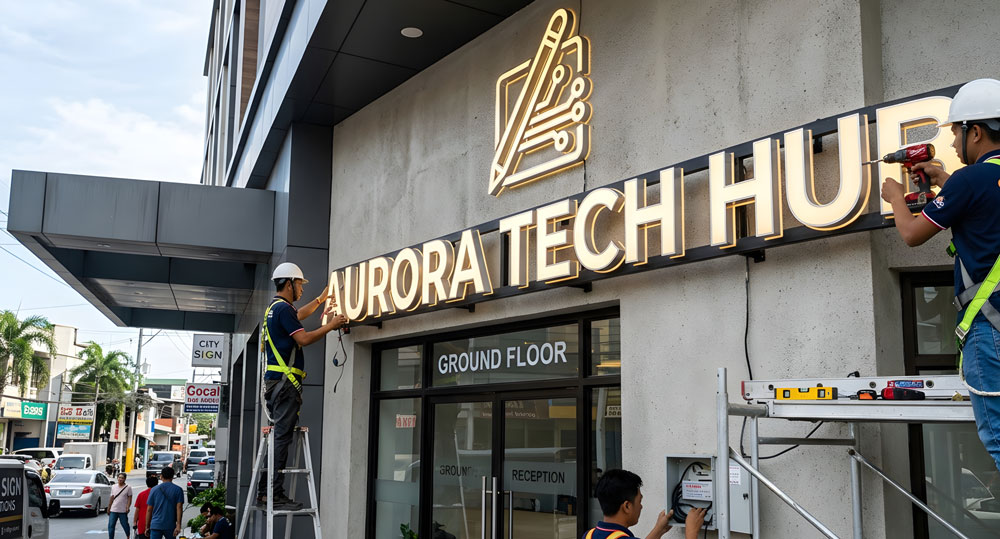
Installing LED Signs
Secure brackets to a wall, ensuring they are level. Connect electrical wiring according to code, using waterproof connectors for outdoor signs. Test the lights before finalizing the mounting to ensure all sections work properly.
Installing Metal or Acrylic Signs
Pre-drill holes based on your marked points. Use anchors appropriate for the wall material, concrete anchors for masonry or toggle bolts for drywall. Tighten screws evenly and apply protective caps if needed for aesthetics.
Installing Vinyl Banners
Attach grommets to hooks, screws, or rods. Ensure the banner is taut and evenly stretched to prevent flapping in the wind. For large outdoor banners, reinforced edges or wind slits increase longevity.
Securing and Testing the Sign
Check stability once mounted. For LED signs, power them on to verify even lighting. Examine all screws, anchors, and fasteners. A small wobble now can lead to major damage later, so take the time to ensure everything is tight and secure.
Common Mistakes to Avoid
Some mistakes can ruin the appearance and lifespan of your sign:
- Misalignment due to poor measurement.
- Using the wrong anchors for the wall material.
- Skipping permits or ignoring local codes.
- Neglecting weatherproofing for outdoor signs.
- Ignoring safety precautions when working at heights.
Avoid these pitfalls by planning, measuring, and using appropriate tools and techniques.
Maintenance Tips for Long-Lasting Signs
Even the best-installed signs require maintenance:
- Inspect signs at least twice a year or after severe weather.
- Tighten screws, anchors, and brackets to prevent wobbling.
- Clean surfaces with mild soap and water; avoid harsh chemicals that degrade materials.
- Replace faded vinyl banners or damaged LED components promptly.
- For illuminated signs, check wiring for wear and tear to prevent shorts or outages.
How LED Lights and Signs Can Help in Windstone Colony
If you want a professional installation without stress, LED Lights and Signs in Windstone Colony is the go-to solution. They provide high-quality custom signs, handle permits, and ensure proper installation. Their team understands local regulations, electrical requirements, and placement strategies to make your sign visually impactful and long-lasting. Trusting experts saves time, reduces mistakes, and guarantees a polished final result.
LED Lights and Signs Serving the Windstone Colony Community and Beyond in Houston
LED Lights and Signs is dedicated to serving the diverse needs of the local community of Houston, including individuals residing in neighborhoods like Windstone Colony. With its convenient location near landmarks such as the Windstone Colony Park and major intersections like Moss Meadow Ln & Windy Cypress Ct (coordinates: 29.840673996550372, -95.7085453324877), we offer custom signs Houston services.
Get Custom Signs at Windstone Colony Now
Navigate from Windstone Colony to LED Lights and Signs Now
Maximizing the Impact of Your Custom Signs
Custom signs are more than decoration, they guide, inform, and promote your business. Proper installation maximizes visibility, safety, and longevity.
By choosing the right location, using the correct tools, and following careful installation procedures, you can ensure your signs stand out and represent your brand effectively. Partnering with a professional service like LED Lights and Signs in Houston ensures a hassle-free process and a result that makes your business shine.
FAQs
1. What is the best height to mount a commercial sign?
For pedestrians, eye level works best. For drivers, higher placement ensures visibility. Always check Houston city codes for restrictions.
2. Can I install an LED sign outdoors myself?
Small signs may be manageable, but large or wired LED signs are safer with professional installation due to electrical and safety considerations.
3. How often should I inspect my signs?
Inspect signs at least twice a year or after severe weather events to check for damage or loose anchors.
4. Do I need a permit for a custom sign in Houston?
Most commercial signs require permits. Confirm with local zoning laws before installation, especially for illuminated or large outdoor signs.
5. Can LED signs be mounted on brick or concrete walls?
Yes, with masonry anchors and appropriate drilling tools. Always ensure the sign is level and the wiring is properly insulated.

Recent Blogs
How To Place Retail Signs For Maximum Visibility
Placing retail signs isn’t just about putting up a poster or a banner. A well-placed sign can guide customers, boost sales, and make your store impossible to ignore. In Houston’s competitive retail market, the way you position your signage can be the difference between foot traffic that flows past your store and shoppers who stop,…What Industries Use A Sign Company Most Often
Signs are one of the oldest forms of marketing, but they are still among the most effective tools a business can have. Think of a business without a sign, it’s like a hidden treasure nobody knows about. A sign doesn’t just identify a business; it communicates your brand, personality, and professionalism instantly. In a bustling…What Types Of Building Signs Are Most Popular
Building signs are more than just identifiers, they are the silent voice of your business, announcing your presence to the world. In a bustling city like Houston, where every block is filled with competing storefronts, having the right sign can mean the difference between attracting customers or blending into the background. From glowing LED signs…

Free Phone Consultation
Explore our range of High-quality signage solutions tailored just for you. From eye-catching LED displays to elegant custom signs, we’ve got you covered. Plus, take advantage of our FREE PHONE CONSULTATION to discuss your needs and get started today! Simply reach out to us by dialing (281) 235-3242.
